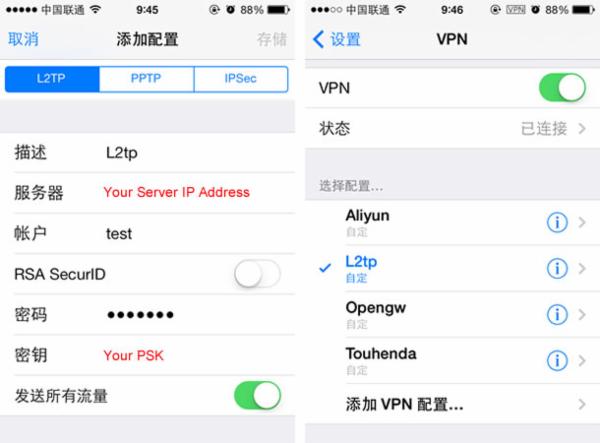
本文详细介绍了在CentOS 6环境下搭建VPN服务的步骤。文章涵盖了从安装VPN服务器软件、配置网络设置、设置用户认证到测试VPN连接的整个过程,旨在帮助用户顺利搭建一个稳定可靠的VPN服务。

PPTP VPN搭建
安装PPTP VPN服务端
登录到CentOS 6服务器,执行以下命令安装PPTP VPN服务端:
yum install pptpd
配置PPTP VPN服务端
1、编辑/etc/pptpd/pptpd.conf文件,添加以下内容:
localip 192.168.1.1
remoteip 192.168.1.100:200
localip为服务器内部IP地址,remoteip为分配给客户端的IP地址段。
2、编辑/etc/ppp/chap-secrets文件,添加以下内容:
username1 * PPTP_PASSWORD1
username2 * PPTP_PASSWORD2
这里,username1和username2为客户端用户名,PPTP_PASSWORD1和PPTP_PASSWORD2为对应的密码。
启动PPTP VPN服务
执行以下命令启动PPTP VPN服务:
service pptpd start
设置PPTP VPN服务开机自启
编辑/etc/rc.d/init.d/pptpd文件,添加以下内容:
chkconfig: 2345 85 20
description: PPTP VPN service
执行以下命令使设置生效:
chkconfig pptpd on
L2TP/IPsec VPN搭建
安装L2TP/IPsec VPN服务端
登录到CentOS 6服务器,执行以下命令安装L2TP/IPsec VPN服务端:
yum install xl2tpd openswan
配置L2TP/IPsec VPN服务端
1、编辑/etc/xl2tpd/xl2tpd.conf文件,添加以下内容:
[global]
pppdebug = yes
debug = yes
localip = 192.168.1.1
remoteip = 192.168.1.100:200
2、编辑/etc/ipsec.conf文件,添加以下内容:
config setup
    charondebug="ike 2, knl 2, cfg 2, esp 2, dmn 2, net 2, mgr 2, cfg 2, sys 2"
    uniqueids=yes
conn %default
    ikelifetime=60m
    keylife=20m
    rekeymargin=3m
    keyingtries=1
conn myvpn
    left=%defaultroute
    leftsubnet=0.0.0.0/0
    leftauth=psk
    right=%any
    rightdns=8.8.8.8
    rightauth=psk
    rightsubnet=0.0.0.0/0
    pfs=no
auto=add3、编辑/etc/ipsec.secrets文件,添加以下内容:
: PSK "L2TP_IPSEC_PASSWORD"
这里,L2TP_IPSEC_PASSWORD为IPsec密码。
启动L2TP/IPsec VPN服务
执行以下命令启动L2TP/IPsec VPN服务:
service xl2tpd start
ipsec start
设置L2TP/IPsec VPN服务开机自启
编辑/etc/rc.d/init.d/xl2tpd文件,添加以下内容:
chkconfig: 2345 85 20
description: L2TP/IPsec VPN service
执行以下命令使设置生效:
chkconfig xl2tpd on
至此,CentOS 6环境下的VPN服务已搭建完成,用户可以使用PPTP或L2TP/IPsec协议连接到服务器,享受加密的网络连接,确保数据传输的安全性。
未经允许不得转载! 作者:烟雨楼,转载或复制请以超链接形式并注明出处快连vpn。
原文地址:https://le-tsvpn.com/vpnpingce/37283.html发布于:2024-11-09


还没有评论,来说两句吧...