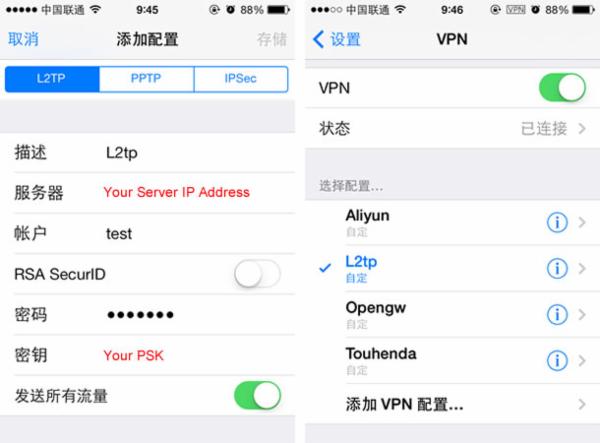
本文将详细讲解如何在CentOS 6.5上使用一键脚本快速设置VPN,确保网络连接的安全与稳定。通过本指南,您可以轻松实现高效的网络连接配置。

准备工作
您需要准备以下条件:
1、一台安装有CentOS 6.5操作系统的服务器或虚拟机。
2、一台支持VPN连接的客户端设备,如电脑、手机等。
3、拥有一定网络知识,以便理解VPN的工作原理和配置过程。
VPN类型选择
目前市面上常见的VPN类型包括PPTP、L2TP/IPsec和OpenVPN等,根据您的需求选择合适的VPN类型:
1、PPTP:配置简单,连接速度快,但安全性相对较低,容易被拦截。
2、L2TP/IPsec:安全性较高,但配置较为复杂。
3、OpenVPN:安全性高,支持多种协议,配置灵活,但速度相对较慢。
本文以OpenVPN为例进行讲解。
CentOS 6.5一键VPN设置
1. 安装OpenVPN
sudo yum install openvpn easy-rsa
2. 生成CA证书
cd /etc/openvpn/easy-rsa/2.0
./clean-all
./build-ca
根据提示输入国家名称、省份、城市、组织名称、组织单位、通用名称(VPN名称)等信息。
3. 生成服务器证书和私钥
./build-key-server server
同样根据提示输入相关信息。
4. 生成Diffie-Hellman密钥
./build-dh
5. 生成客户端证书和私钥
./build-key client1
根据提示输入相关信息。
6. 生成客户端配置文件
openvpn --genkey --secret keys/ta.key
7. 配置OpenVPN服务
编辑/etc/openvpn/server.conf文件,修改以下内容:
port 1194
proto udp
dev tun
ca /etc/openvpn/easy-rsa/2.0/keys/ca.crt
cert /etc/openvpn/easy-rsa/2.0/keys/server.crt
key /etc/openvpn/easy-rsa/2.0/keys/server.key
dh /etc/openvpn/easy-rsa/2.0/keys/dh2048.pem
server 10.8.0.0 255.255.255.0
ifconfig-pool-persist ipp.txt
keepalive 10 120
tls-auth keys/ta.key 0
user nobody
group nogroup
status openvpn-status.log
log /var/log/openvpn.log
8. 启动OpenVPN服务
sudo systemctl start openvpn@server.service
sudo systemctl enable openvpn@server.service
9. 配置客户端连接
1、将服务器证书、客户端证书、私钥和ca.crt文件复制到客户端设备。
2、创建客户端配置文件,内容如下:
client
dev tun
proto udp
remote <服务器 IP> <服务器端口>
resolv-retry infinite
nobind
persist-key
persist-tun
ca ca.crt
cert client.crt
key client.key
tls-auth ta.key 0
remote-cert-tls server
3、启动客户端VPN连接
在客户端设备上,打开终端,执行以下命令:
openvpn --config /path/to/client.ovpn
通过以上步骤,您已经成功在CentOS 6.5系统上搭建了一键VPN,使用OpenVPN,您将享受到安全稳定的网络连接,有效保护您的信息安全,在实际使用过程中,请确保及时更新服务器和客户端配置,以确保系统安全。
未经允许不得转载! 作者:烟雨楼,转载或复制请以超链接形式并注明出处快连vpn。
原文地址:https://le-tsvpn.com/vpnpingce/64801.html发布于:2024-11-14


还没有评论,来说两句吧...